How to Replace a RichAuto Controller: Wiring and Compatibility Checklist
Before ordering or powering on a replacement RichAuto controller, verify the existing controller model, machine type, axis configuration, interface board, wiring, signal type, hardware revision, firmware and complete machine configuration. A matching model name or the same number of axes is not enough to confirm compatibility. If any of these details are unknown, collect clear labels and photos and have the replacement checked before installation.
Why RichAuto Controller Replacement Requires Verification
A RichAuto controller replacement should be treated as a compatibility check, not simply as a model-number match.
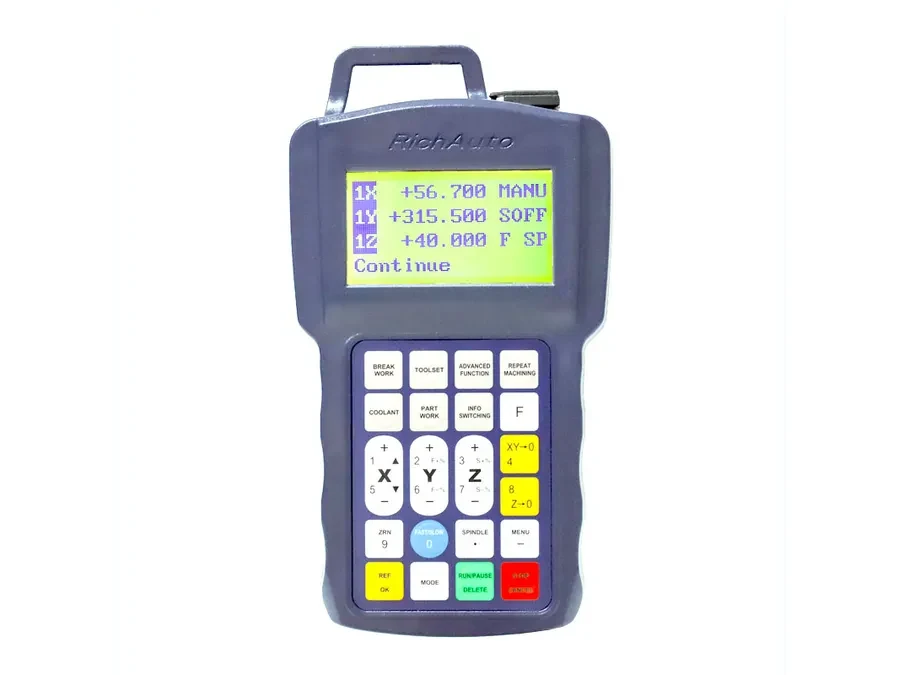
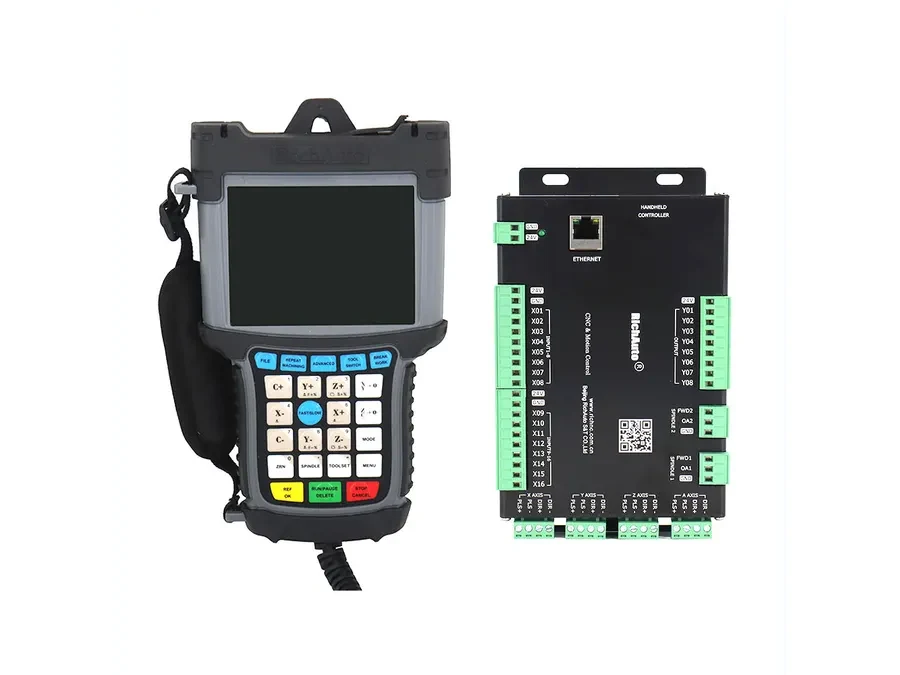
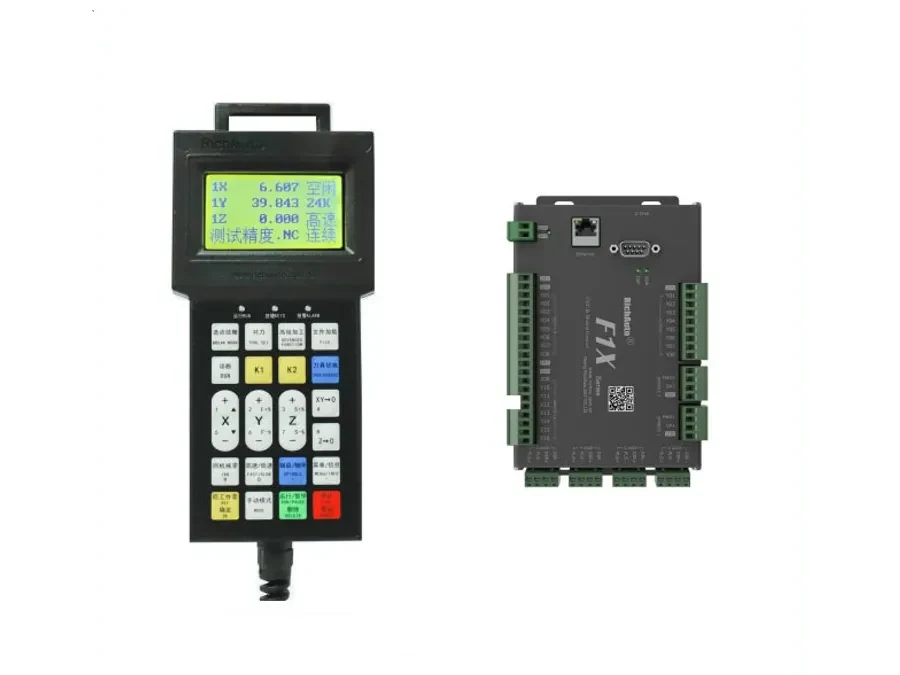
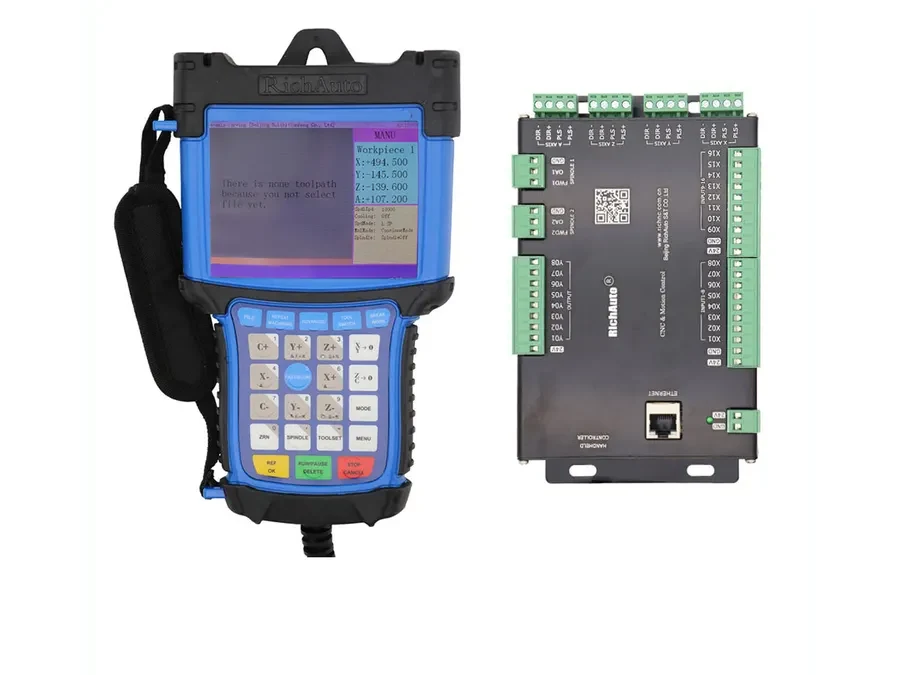
Controllers such as A11, B11, B51 and F131 may be considered in replacement enquiries, but their names alone do not prove that one can replace another. The same applies when the old and proposed controllers have the same axis count.
Compatibility depends on the actual machine and control system. The important details include the interface board, wiring, signals, hardware revision, firmware and machine configuration.
For this reason, no RichAuto model should be described as a drop-in replacement until those points have been verified.
Step 1: Identify the Existing Controller Exactly
Start with the controller already installed on the machine.
Record the complete model information from the controller label. Do not rely on memory, a shortened model name or the appearance of the handheld unit.
If the machine currently uses an A11, for example, include a clear photo of the controller label when requesting a replacement check.
The existing model is only the starting point. It does not by itself approve the replacement.
Step 2: Identify the Machine Type
State what type of CNC machine the controller is operating.
The machine type matters because two machines can use controllers with apparently similar axis configurations while having different control requirements.
When contacting CINKR, describe the machine clearly enough to distinguish its basic application. This gives the controller model and wiring information useful context.
Do not assume that a controller used on one machine can be transferred to another machine simply because both machines have the same number of axes.
Step 3: Confirm the Axis Configuration
Record the machine’s actual axis configuration.
Axis count is an important part of the replacement check, but it is only one part. A three-axis machine does not automatically accept any controller described as a three-axis model.
The replacement still needs to be checked against the interface board, wiring, signals, hardware revision, firmware and other machine configuration details.
Treat axis count as a filtering condition, not as proof of compatibility.
Step 4: Check the Interface Board
Identify the interface board used with the existing controller.
The interface board is one of the items that must be verified before a replacement can be approved. Include its model information or clear label photos where available.
If the interface board cannot be identified, do not assume that the proposed controller will connect or operate correctly simply because the controller model appears similar.
For a useful compatibility review, provide clear photos showing the board and its identifying information.
Step 5: Document the Existing Wiring
RichAuto wiring compatibility must be checked before installation.
Document the current wiring clearly before disconnecting or replacing the controller. The goal is to establish what is actually connected to the existing system and how the machine is configured.
Photos should be sharp enough to identify connections and labels. If a connector, terminal or label cannot be read, take a closer photo.
Do not use visual similarity between connectors as evidence that the wiring is compatible.
Step 6: Confirm the Signal Type
Signal type is another required part of the compatibility check.
Do not assume that two controllers use the same signals because they belong to a similar model family or control the same number of axes.
If the signal type is known, include it in the replacement enquiry. If it is not known, provide the controller, interface-board and wiring information needed for further confirmation.
A replacement should remain unconfirmed until the relevant signal requirements are understood.
Step 7: Check Hardware Revision and Firmware
Record the hardware revision and firmware information where available.
These details matter when evaluating an existing installation because the controller model name alone may not describe the complete configuration.
If the label, startup information or other available identification shows a hardware revision or firmware version, include it when contacting CINKR.
Do not assume that two units with the same main model name are identical in every relevant detail.
Step 8: Describe the Complete Machine Configuration
Provide any machine configuration information that affects controller selection or replacement.
The compatibility check should reflect the machine as it is actually built and configured, not only the controller mounted on it.
At minimum, the replacement review should combine:
-
existing controller model
-
machine type
-
axis configuration
-
interface board
-
wiring
-
signal type
-
hardware revision
-
firmware
-
machine configuration
Missing information increases the amount of compatibility uncertainty.
When You Should Not Power On the Replacement
Do not power on a replacement controller while its wiring or compatibility remains unverified.
Stop and confirm the installation first if:
-
the existing and replacement model numbers differ
-
compatibility has been assumed only from axis count
-
the interface board has not been identified
-
the wiring has not been checked
-
the signal type is unknown
-
the hardware revision or firmware information may differ
-
the machine configuration has not been confirmed
A connector that physically fits does not establish electrical or functional compatibility. Verification should come before power-up.
What to Send for a Compatibility Check
Before requesting a RichAuto controller replacement quote, prepare a concise set of information.
Include the existing controller model, machine type, axis configuration, interface-board details, wiring information, signal type, hardware revision, firmware and relevant machine configuration.
Also send clear photos or labels. Useful images include the existing controller identification, interface board identification and wiring connections that need to be checked.
Avoid sending only a message such as “I need a three-axis RichAuto controller” or “Can B11 replace my old controller?” That does not provide enough information to confirm a replacement.
Final CNC Controller Replacement Checklist
Before ordering, verify each item:
-
existing RichAuto controller model identified
-
machine type identified
-
axis configuration confirmed
-
interface board identified
-
existing wiring documented
-
signal type confirmed or supplied for review
-
hardware revision recorded where available
-
firmware information recorded where available
-
machine configuration described
-
clear controller and interface-board labels photographed
-
wiring photos available where needed
-
replacement compatibility confirmed before power-up
Do not treat A11, B11, B51, F131 or any other RichAuto model as a drop-in replacement without completing the relevant checks.
For a RichAuto controller replacement compatibility review, send the machine details, controller information, labels and clear photos to info@cinkr.com before ordering.